We’ve made it easier, and smarter, to design engaging and beautiful newsletters, campaigns and automations here in Lily. With this brand-new version of our Template Builder, you can now create, customize and test templates faster than ever before. Here's how it works…
Getting Started: Creating a New Template
Start by clicking on the “Create new template” button in the top right corner. You’ll arrive at the new Template Library, where you can:
Choose from pre-designed Lily Templates (more to come)
Scroll down to access and reuse your existing templates
Tip: Remember to click Save Template regularly while working, as your progress isn’t auto-saved!
Template Builder Layout
The new design gives you a clear overview and quick access to everything you need:
Left panel: Contains Structures (your layout framework) and Blocks (text, image, video, button, socials, etc.) you can drag into your template’s structures.
Center editor: This is your live design area, where you build and edit your newsletters visually.
Right panel: The Global Styles & Layout section lets you adjust background colours, fonts, width and message alignment. Here you’ll also find “Message Settings” where you can edit your hidden preheader and add UTM for Google Analytics.
Global Styles & Layout
Message width: Choose the width of your newsletter, push, or automation (max. 600px).
Message alignment: Decide whether your message should be centered or aligned to one side.
Default padding: Adjust margins on the sides (e.g., 20 left and 20 right).
General background color&font: Set a default background color and font for your email.
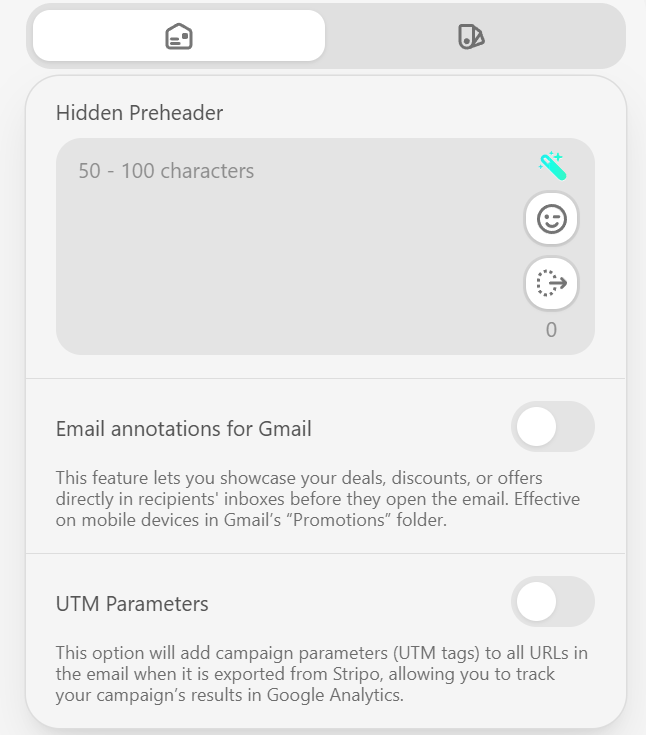
Tip: You can also go to Message Settings (In the global styles tab, top left button/icon) to:
Add or edit your hidden preheader (the short text visible in inbox previews)
Use Lily’s AI assistant to suggest short, engaging preheaders
Add UTM parameters for Google Analytics tracking.
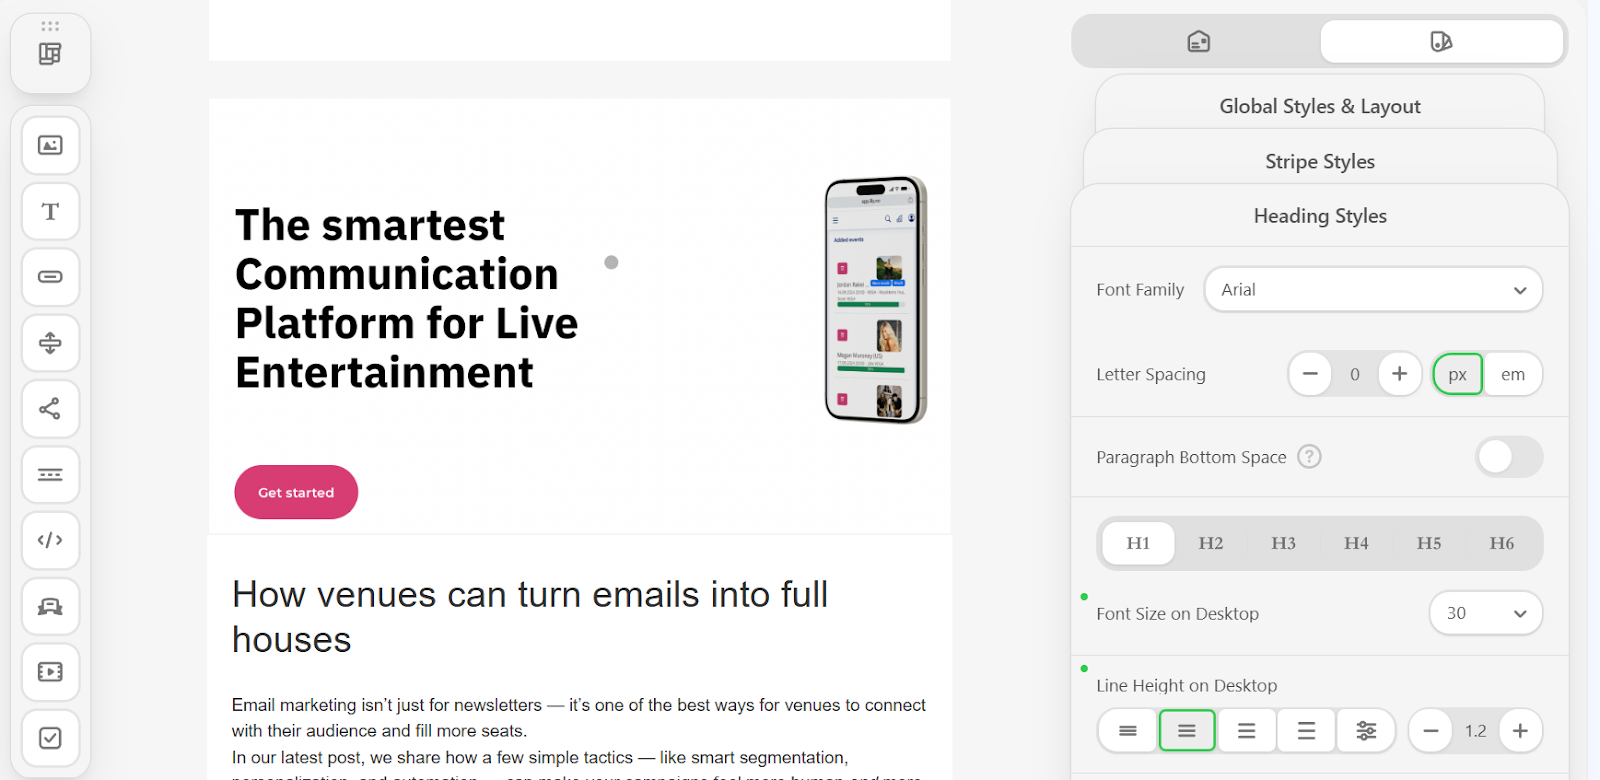
Setting Headings
Select the “Heading tab” to define your tile styles.
Here you can:
Choose the font type
Set the font size and color for each heading (H1, H2, H3)
Adjust line spacing and alignment.
This helps you keep newsletters consistent and on-brand.
Building a Header
When starting from scratch, click on the “Insert header here” block, where the image tab will appear on the right hand side. Click on the round icon “Replace Image”, and:
Upload your header image from your device, or choose from images you’ve previously uploaded.
Add a website link so recipients can click on the header and be taken directly to your website
You can adjust the alignment, size and padding in the right panel.
To edit the container and structure of your header section, click the arrow in the top right corner of the image tab and go through the available settings.
Working with text
To edit text:
Click directly in the text area and start typing
Use the right tab “Text block” to change the font, size, color, alignment and merge tags.
You can edit both Styles (font, color etc) and Settings (Alignment, merge tags, padding)
To add a new text area, drag a Text Block from the left panel into your chosen structure.
NEW: All structures and content blocks are now found on the left-hand panel for easy drag-and-drop access!
Adding Images
To insert or change an image, follow the same steps as when changing your header:
Click the image icon in your template
Change or upload the image using the right-hand tab.
You can link the image to your event page/program/website
Editing Images: Click the “Edit Image” Icon, next to the “Change Image” icon.
Then you will be redirected to the image editor where you can for instance crop, resize, draw and change the background color of your image. You can also add text and frames. Then you click on save and your changes will appear.
Adding Buttons
In the Blocks section, drag a Button Block into your email.
Then you can choose between different editing options in Settings and Styles.
Settings: Edit button text, alignment, padding etc. Here you also add your desired link.
Styles: Colors, borders, font etc. Here you develop the look of your button!
Adding Spacers
To create breathing room between sections, drag a spacer block into your layout. You can adjust its height, width and color in the right-hand editor panel.
Adding Social Media Links
Add your social media links by dragging in the Social Block from the left panel. You can:
Choose icon styles (circle, square, color, white logos)
Add links for Facebook, Instagram, X and more
add extra icons with the + button
Preview & Device Testing
At the top of the builder, you can now switch between mobile and desktop view to preview your design instantly. This makes it easier to ensure your template looks great on a mobile device as well.
However, we always recommend to send a test at the bottom of the preview pop-up, and check your template on different email platforms, both on desktop and phone, as well as with and without dark mode (on iPhone especially).
Saving and Publishing Your Template
When you’re ready to save:
Click Save Template above the editor
Choose whether to update your existing version or Save as new (creating a copy)
Select where the template should be available: Automations, Newsletters, Campaigns.
Final Tip: Start with a Lily Template to save time, they come with pre-built structures and styles that match best practices for readability and performance.
We will soon add a quick guide for AI functions.
Lets get you started
Your audience history already exists across your ticketing systems and mailing lists. Lily brings it together automatically - complete, connected and ready to use.
Thank you! Your submission has been received!
Oops! Something went wrong while submitting the form.